1. Using Internet Explorer, Visit http://myapps.shu.ac.uk
2. Select the ‘downloads’ tab and then select ‘Windows Web Connector’
(Since the last upgrade all Windows users should now use the ‘Windows Web Connector’)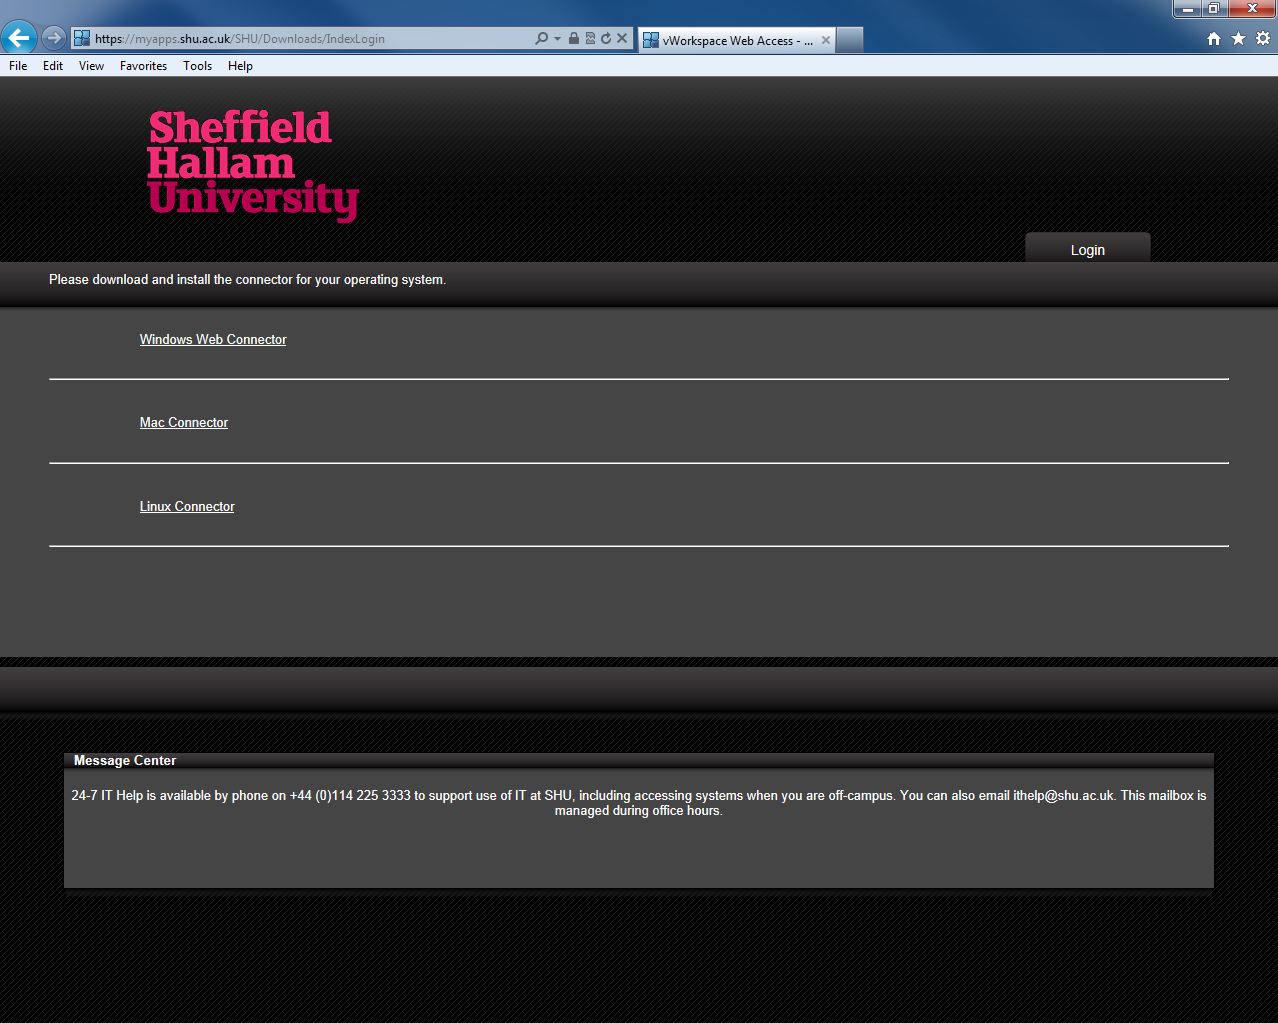
3. When prompted to run or save the file, select the Run box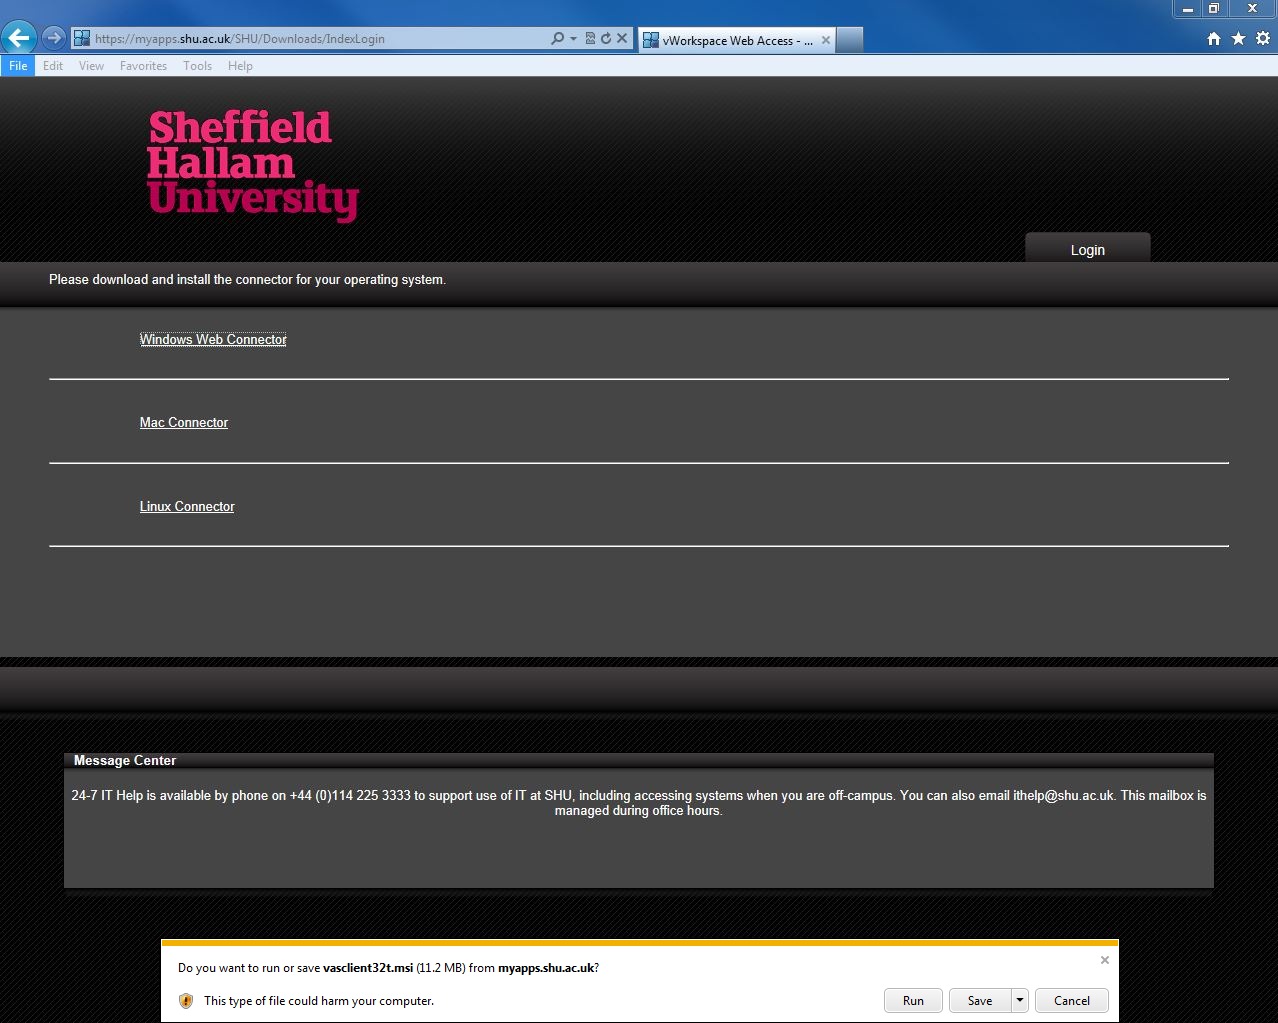
4. Select ‘Next’ to start the connector installation 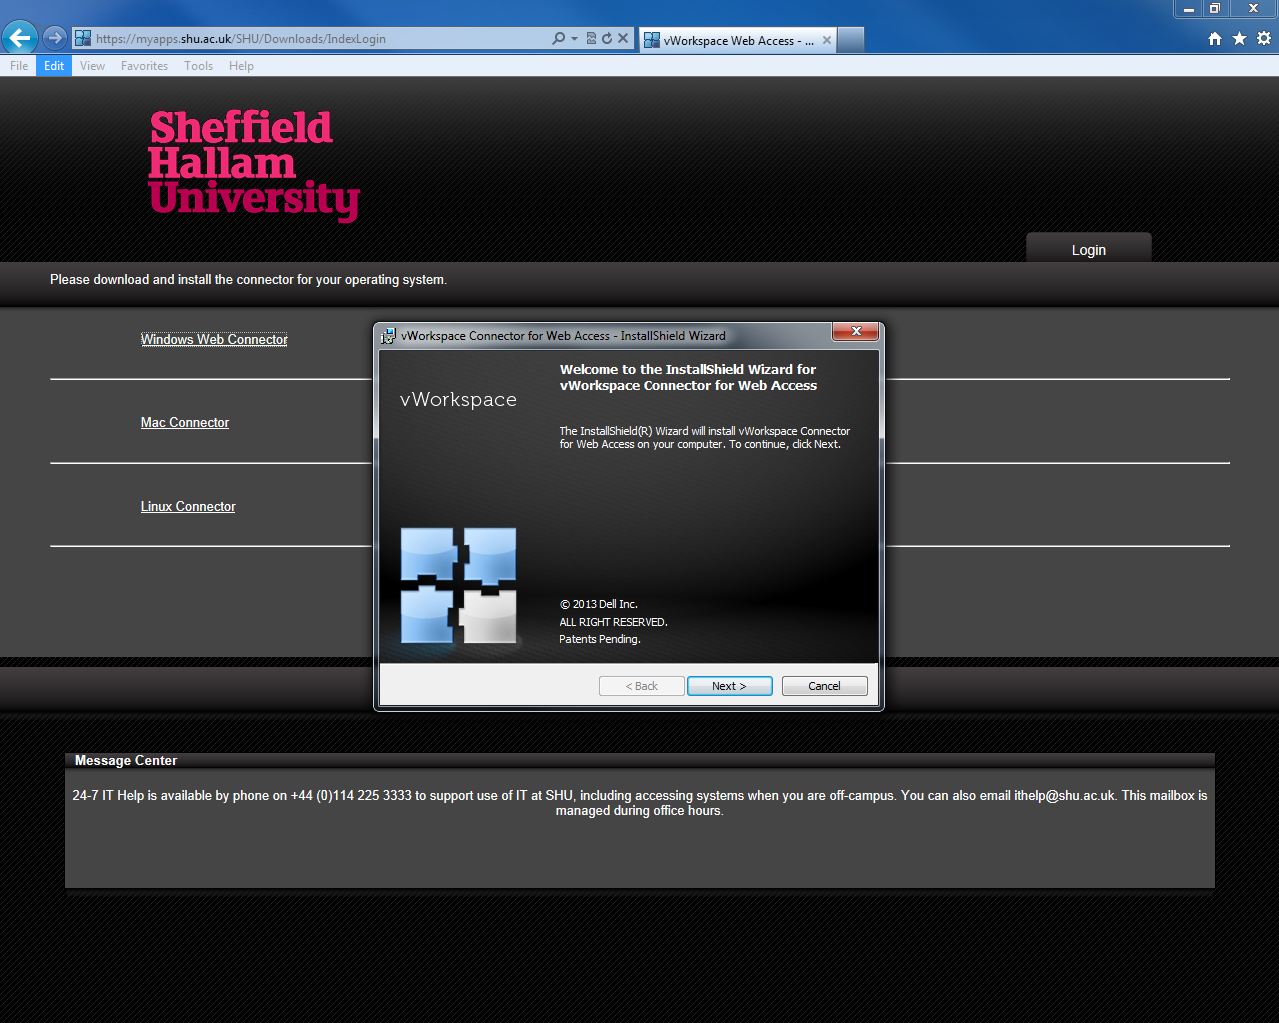
5. Accept the License Agreement and then select the Next button to proceed
6. Enter your Customer Information as required
7. Accept the suggested location for the Destination Folder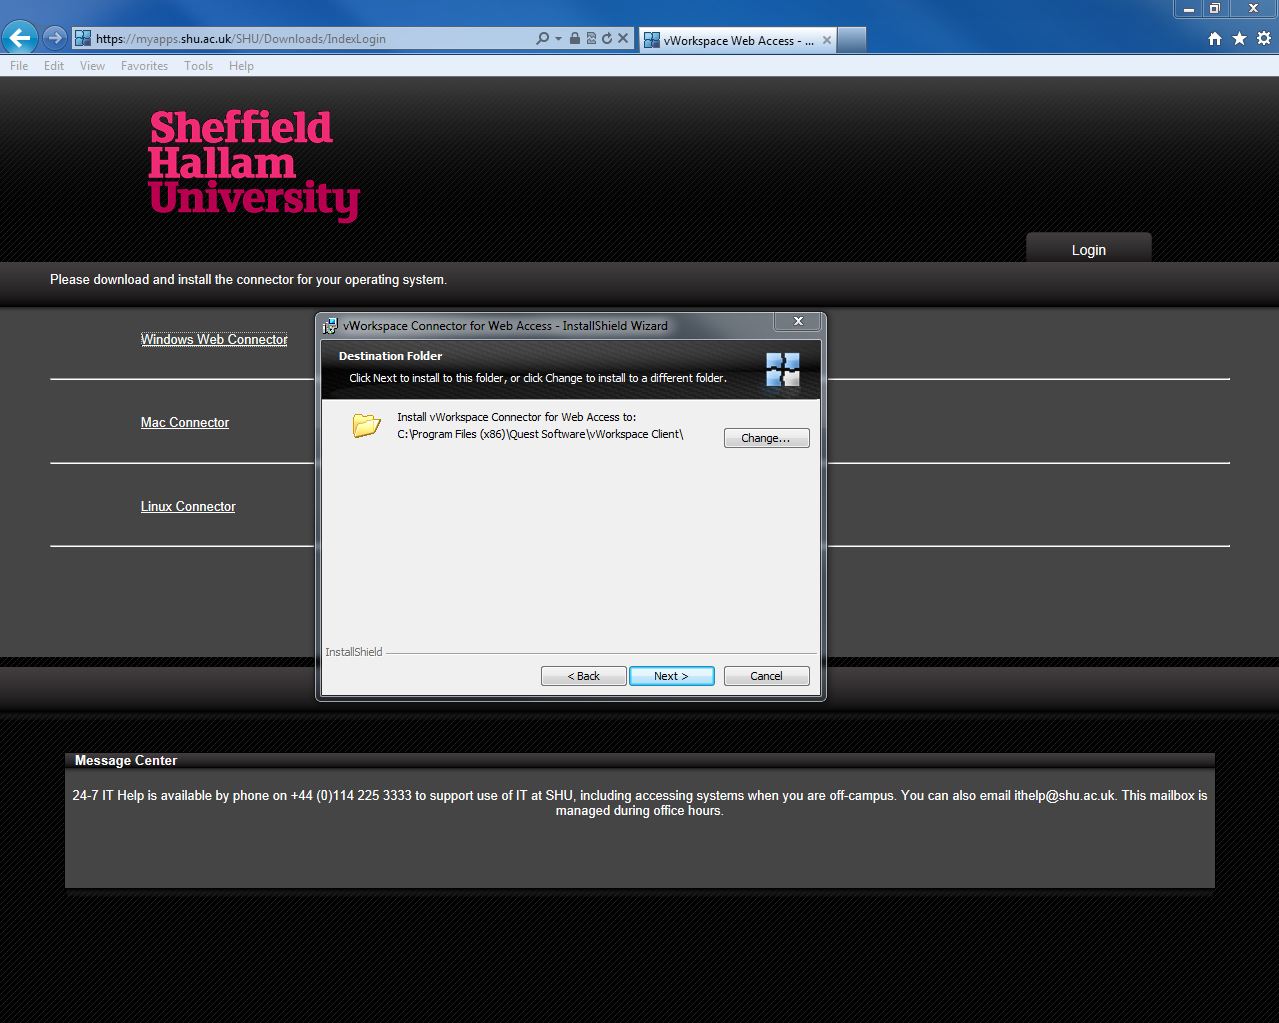
8. Untick the ‘Enable Credentials Pass-Through’ tick box and select the Next button
9. Select the ‘Install’ button to proceed with the installation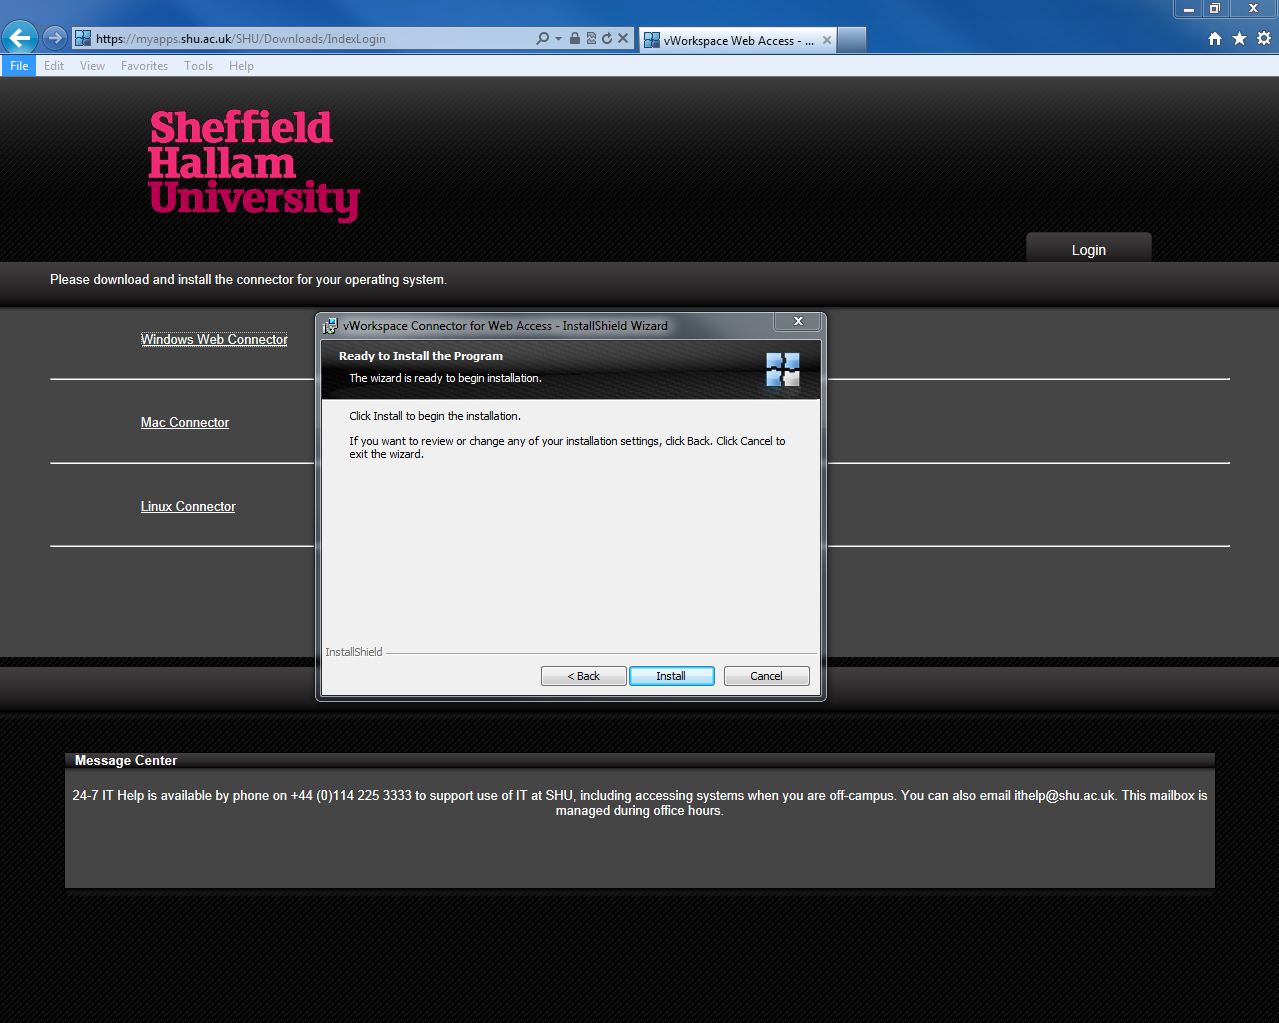
10. The application will begin the install process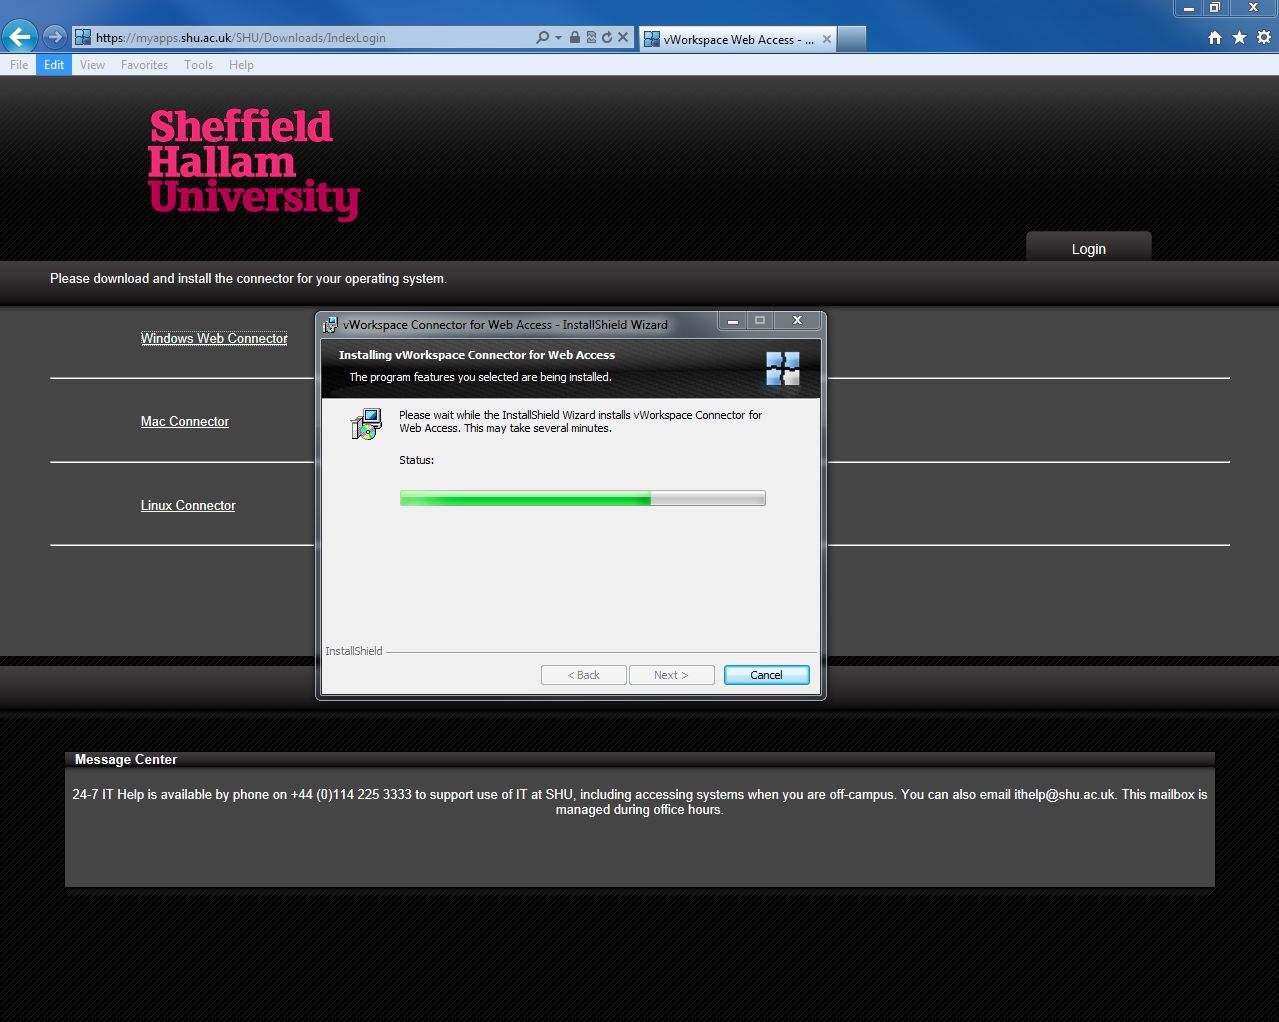
11. When completed successfully select the Finish button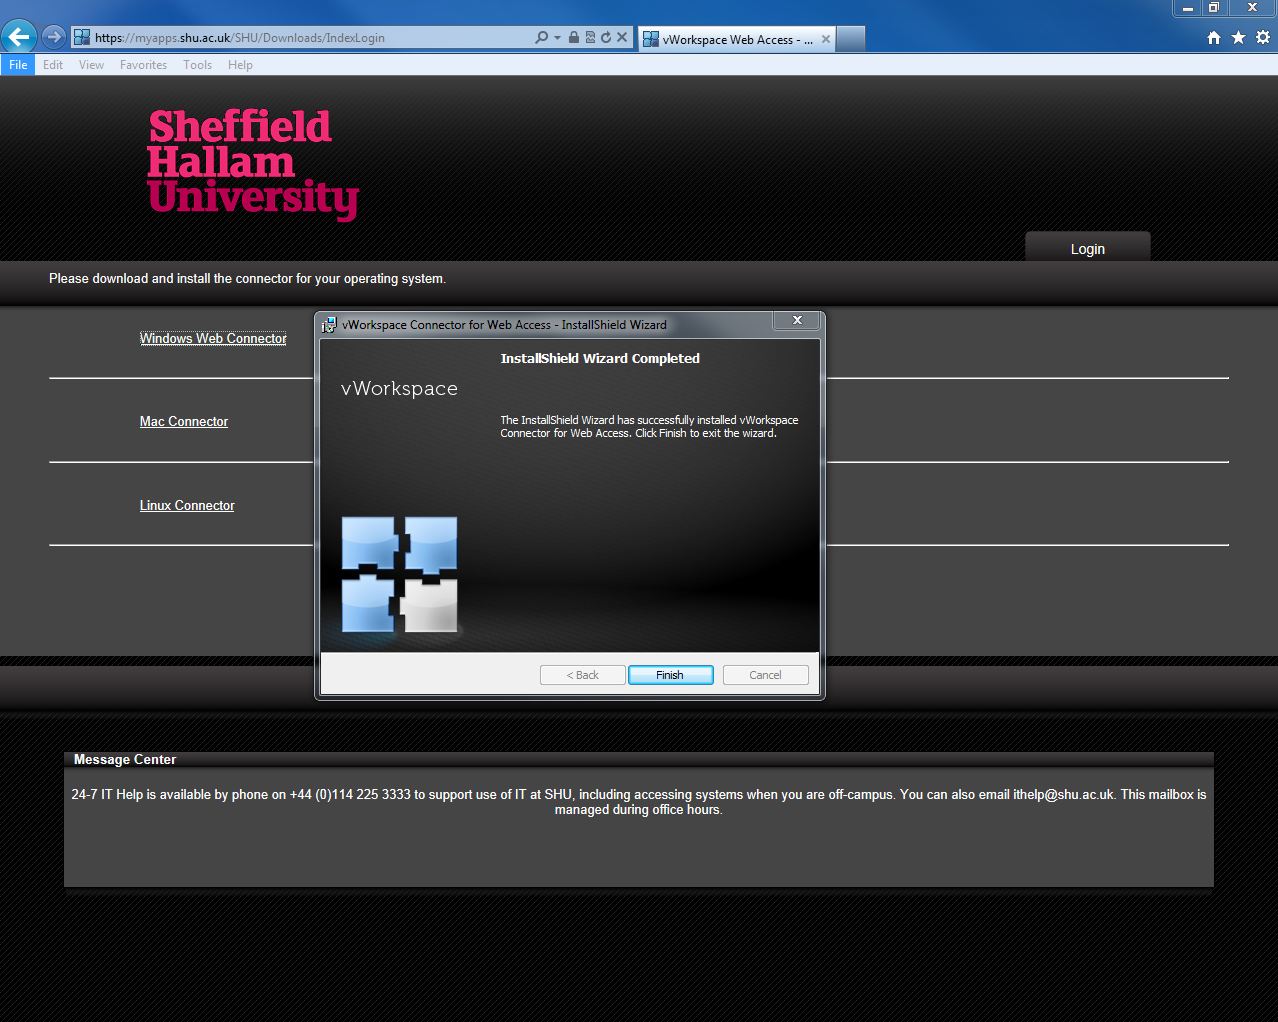
12. Restart the computer in order to complete the installation
Once the client is installed and the machine has restarted the Web Connector Preferences should be set to provide the best performance and required settings.